Enclosures are the part everyone underestimates. Thin walls, ribs, snap hooks, bosses, vents, a battery door and a face that has to look finished — all in a quantity that makes a steel tool absurd.
Machining one from solid is not realistic. Printing them gives you layer lines under the paint and a unit cost that never drops. Casting sits exactly in the middle, and enclosures are the single biggest category of work that comes through this process.
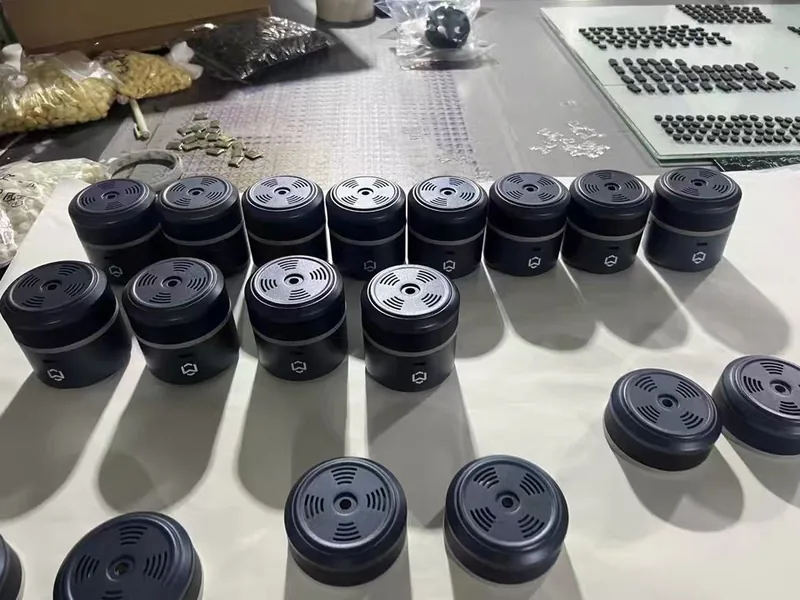
What Gets Cast Here
- Instrument and detector housings — wall-mounted and panel-mounted, front and back shells as a matched pair.
- Handheld and portable device enclosures — with battery doors, grip areas, button apertures and speaker grilles.
- Control and terminal housings for equipment built in small series.
- Panel bezels and fascias, including two-tone and printed faces.
- Covers, shrouds and guards for machines where the original part is discontinued.
- Brackets and mounts that go with the housing, cast in the same batch.
The Features That Decide Whether It Works
| Feature | Casts well? | What to watch |
|---|---|---|
| Main walls | Yes | 2–3 mm, kept even. Uneven walls sink on the visible face. |
| Screw bosses | Yes | Specify inserts if the enclosure will be opened for service. |
| Snap hooks | Yes, with the right resin | Needs a nylon-like or PP-like grade. Rigid ABS-like resin cracks them. |
| Vents and louvers | Yes | Down to roughly 0.8 mm slats. Finer than that, fit a separate mesh. |
| Locating ribs | Yes | Tall thin ribs shorten mold life — budget an extra mold. |
| Living hinges | Marginal | Cast resins do not match PP for hinge fatigue. Use a separate pivot. |
| Clear windows | As a separate piece | Cast the window separately in clear resin and fit it. |
| Sealing faces | Cast the channel | Fit the gasket afterwards rather than casting it in place. |
Two-Part Enclosures That Actually Close
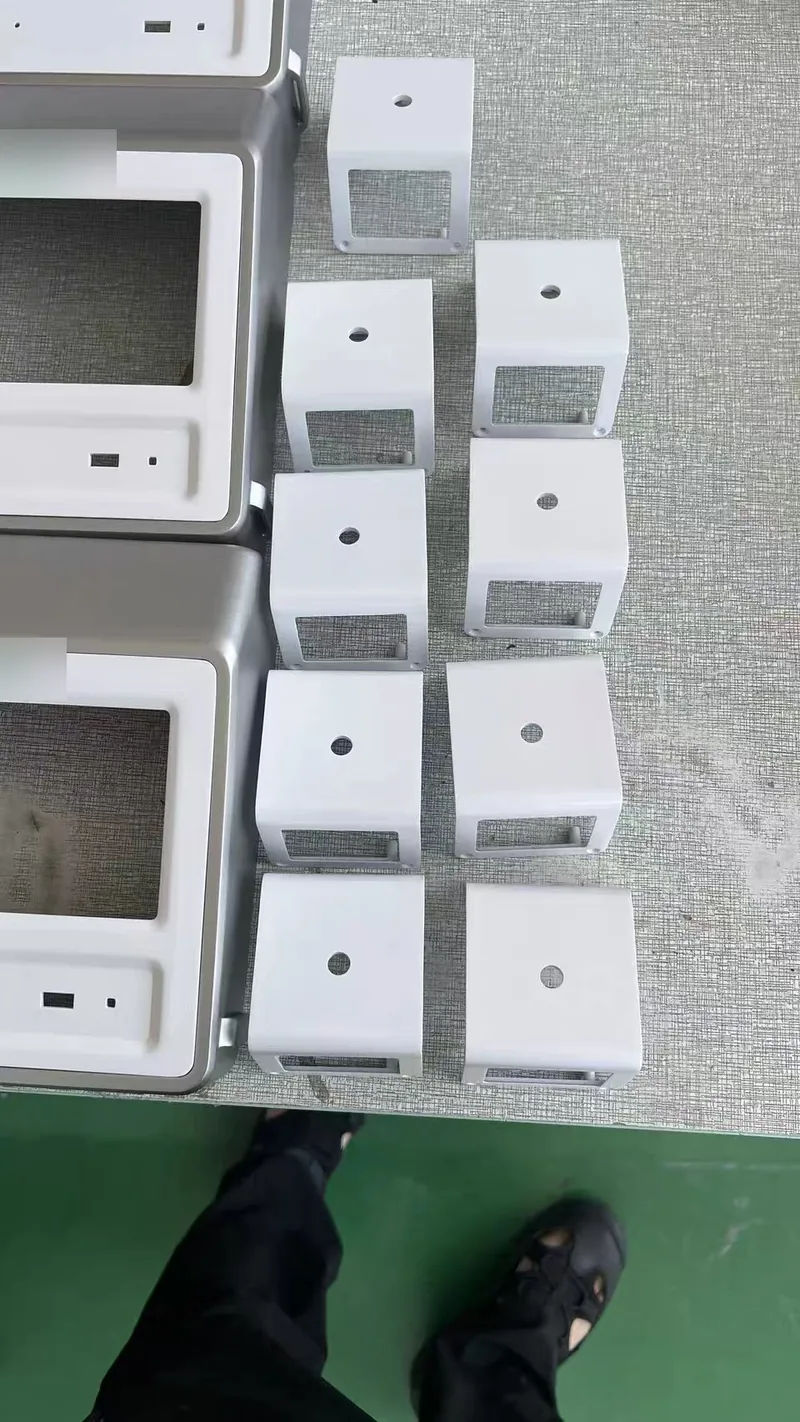
The usual failure on a low-volume enclosure is not a broken part. It is two halves that do not sit flush. Both shells come from masters made together, so the parting faces, the boss positions and the snap engagement are worked out as one problem instead of two. (See what a cast back shell looks like — snap slots, bosses and locating ribs straight off the master.)
Where you are replacing only one half of an existing enclosure, send the half you are keeping. We check the fit against it before the batch runs — it is the cheapest insurance on the whole job.
From Bare Shell to Finished Product
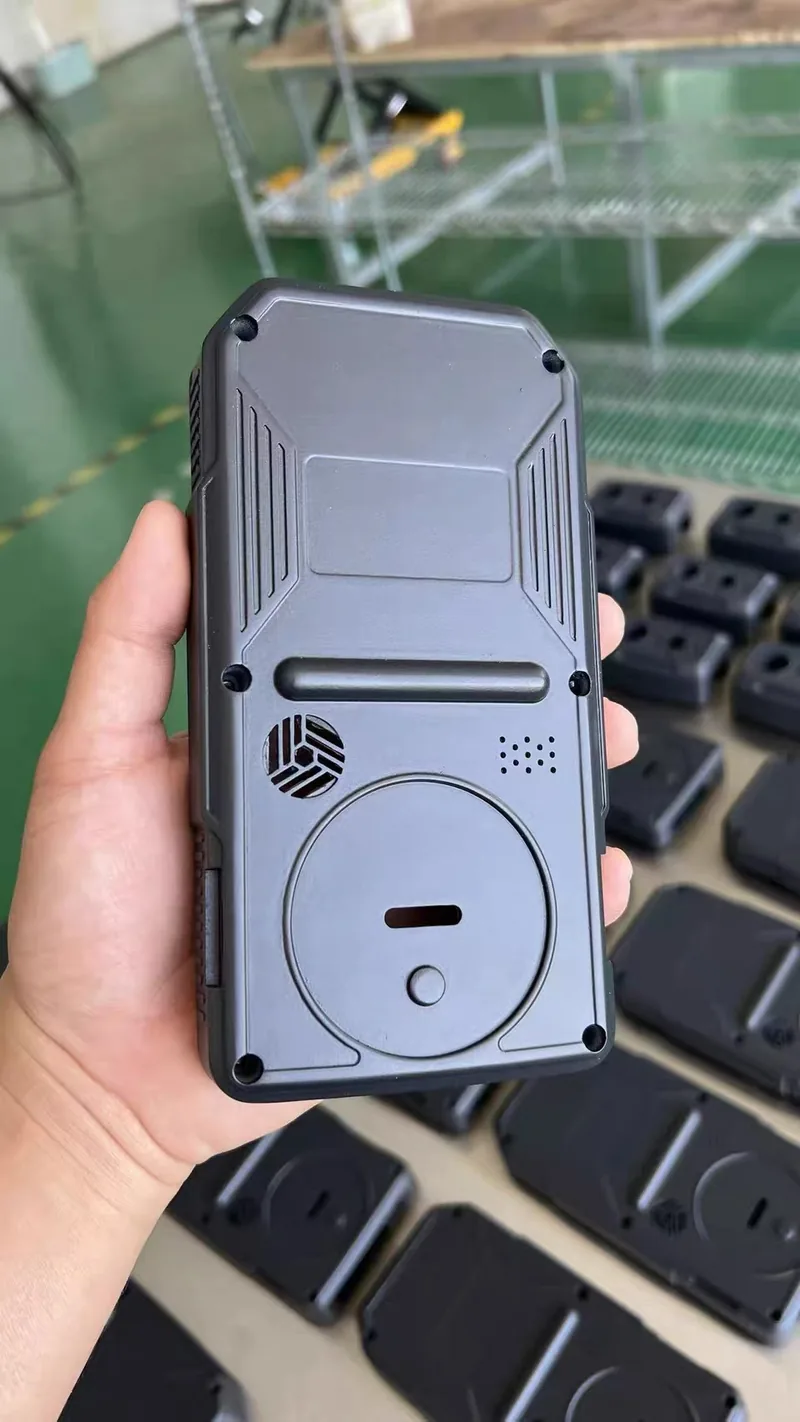
A cast enclosure goes through the same downstream operations a molded one does: trimming, painting, printing, insert fitting, assembly. Below is what that looks like at the end — housings with hardware and face detail fitted, coming off the bench as product rather than as castings.
Texture, two-tone paint and printed legends are covered in more depth on texture, paint and printing.
What to Send Us
- A 3D file if you have one, or the existing enclosure if you are reproducing something.
- The quantity, which sets the mold count — see mold life and quantity.
- What goes inside — PCB outline, battery, display cutout. It changes the boss layout and the wall plan.
- Environment — indoor, outdoor, UV exposure, wash-down, any flame rating you have to meet.
- Whether it gets opened in service. This decides inserts on the first batch instead of the second.
Common Questions
Aim for 2 to 3 mm on the main walls, and keep it as even as you can. Thin sections below about 1.5 mm can fill incompletely on larger parts; thick sections cure hot and can sink on the visible face. Even walls matter more than thin walls.
Yes, with the right resin. Choose a nylon-like or PP-like grade for anything that has to flex repeatedly — a rigid ABS-like resin will hold a snap once or twice and then crack it. Tell us the feature has to flex and we pick accordingly.
Yes, and it is the most common enclosure job. Both halves come from masters that were made together, so the parting faces match. Where a seal is involved we cast the channel and fit the gasket afterwards rather than trying to cast the gasket in place.
Yes — those cast well because the silicone reproduces thin slats accurately. Fine mesh below about 0.8 mm is where it gets marginal; at that scale we usually cast an opening and fit a separate mesh.
Brass or stainless threaded inserts, cast in place or heat-set afterwards. For any enclosure that is opened for service, specify inserts on the first batch — retrofitting them later means handling every part again.
Usually as a separate clear cast piece fitted into the housing, rather than cast as one part. Optically clear resin behaves differently from the housing resin, and casting them together compromises both.
Roughly 20 to 100 is where it fits best. Below 20 the mold cost weighs heavily; above a few hundred, bridge tooling starts to compete.